Hey all,
So, I recently received my second Burning Chariot of Tzeentch, the first one I assembled a couple of years ago as 2 Screamers, 1 Blue Scribes, 1 Exalted Flamer, 1 Herald on Disc and 1 Horror. This time around I am building the kit properly, and as usual have looked towards magnetising it.
Having looked online, there was a lack of material to show me how best to magnetise this kit, and one individual on the Miniwargaming forums indicated that it simply wasn't possible, so I rose to the challenge.


Magnetising isn't necessary for being able to switch between the Herald and the Flamer, however not doing so means ditching the fancy outer disc. The ball joint used to connect the characters base to the stand is secure enough, and can be further secured with either pinning, magnets or even blu-tac, that bits entirely up to you as in this blog I will be focussing on magnetising the outer ring.
1. Materials & Equipment
Firstly, you will need your magnets, I recommend the usual 3mm x 1mm magnets, of which you will only need 4. Now you need 2 metal discs with a hole in the centre, preferably 23mm outer diameter and >6mm inner diameter. For this I picked up a pack of M12 washers from my local discount store, these were precisely 23mm across. To name other eligible materials around the house, you could try a spare keyring or neatly bending a paperclip into a perfect circle, but i'd recommend the washer.

In addition you'll require your usual superglue, a craft knife for when the magets stick in the wrong place and some blu-tac for dry runs.
2. Magnets
Look at the picture below, what I did here was space out the 4 magnets evenly around the edge, pointing inwards. I did no cutting away of the plastic here, I simply glued the magnets onto the base. Don't worry about getting the polarity of the magnets the right way around, these won't be connecting to other magnets so you won't have any trouble either way.

However, ensure that the magnets are 1mm-2mm from the inner edge, as the magnets will jut out slightly given the angle that they will be glued on at, and you will need to fit your washer in through that gap. Don't space them much further away either, as the magnets will have less of an effect if they cannot make contact with the washer later on.
3. Washer Bases
Following the image below, simply glue your washer or equivalent onto one of the bases that fits into the outer ring. A little cutting away may be required to get it to stick.
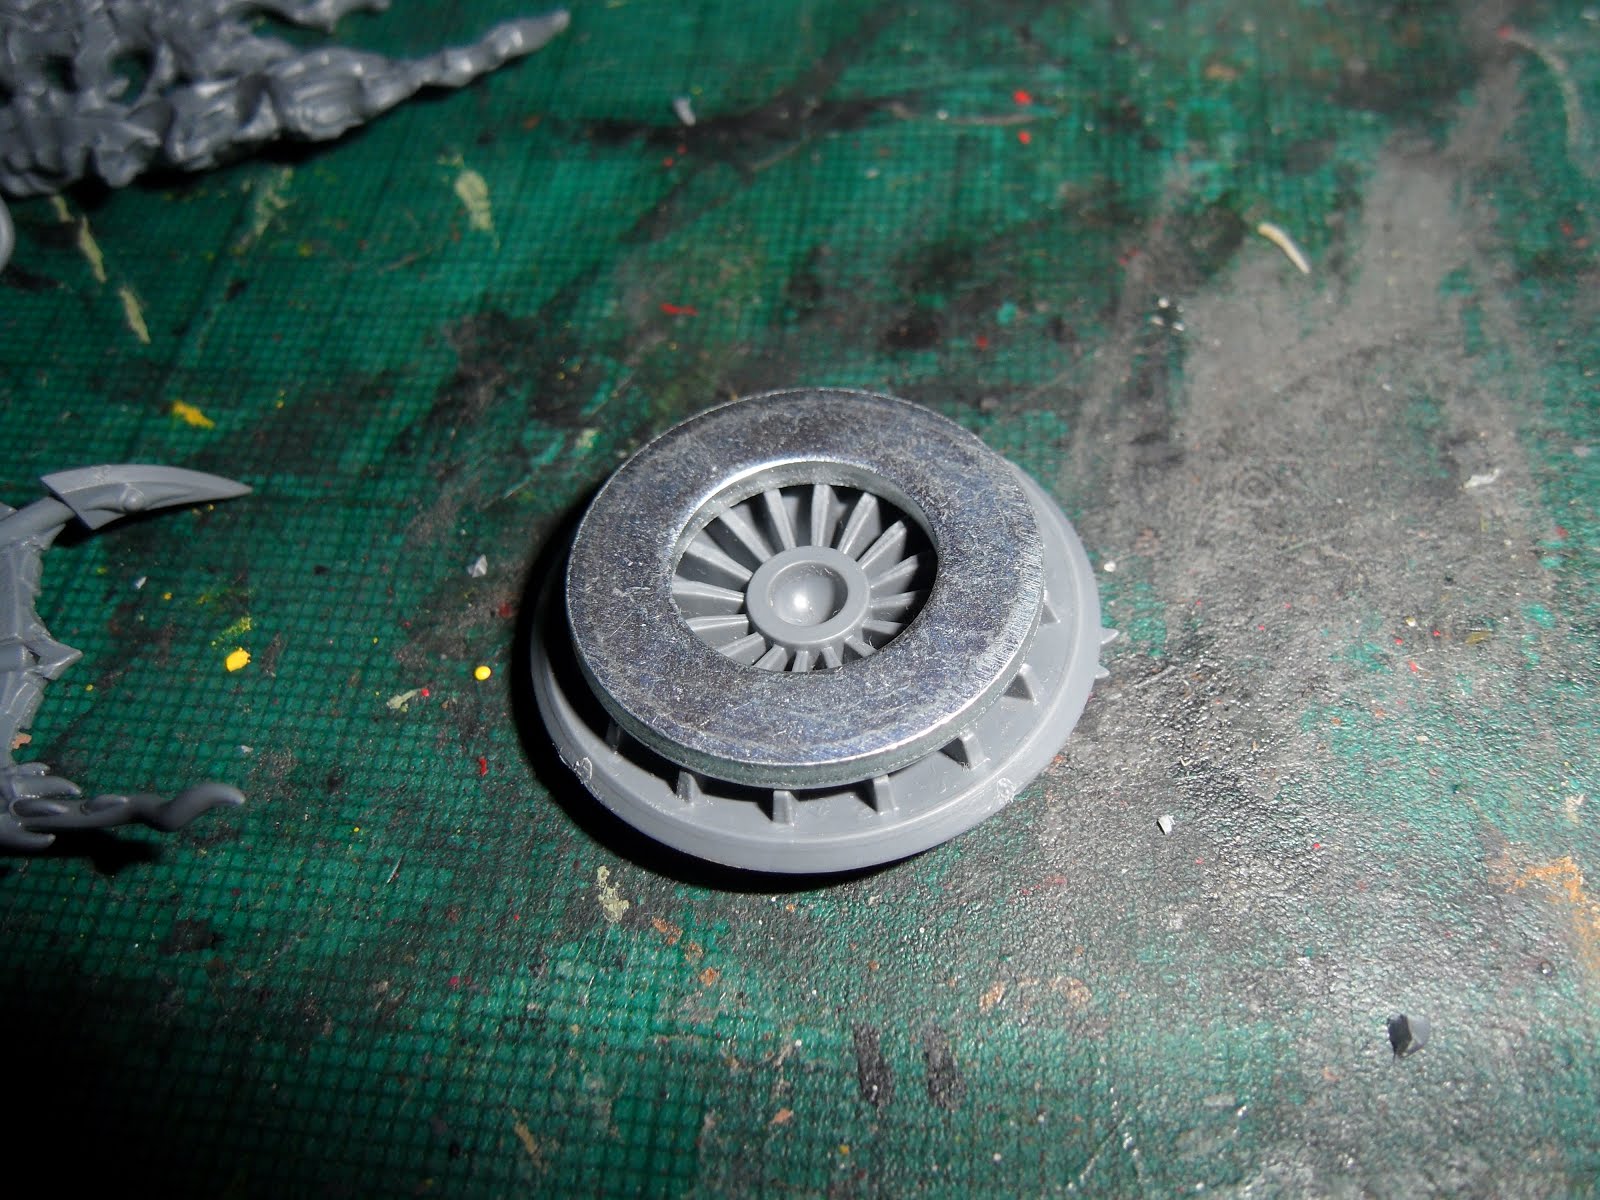

Following this give it a trial run and check that your base still slots into the outer ring as before, if you struggle to manage this, check that the washer is perfectly lined up and that the magnets are positioned the right distance away from the inner edge.


4. Finished, onto painting
Once you've tested the configurations your good to go and start painting. Here's some photos showing the final results, as you can see I can have both characters on foot, disc or charriot;


I hope you'll find this helpful, if I encounter any more difficult kits such as this i'll be sure to post tutorials up on here.
Thanks for reading,
PeakWargamer Aaron.
This comment has been removed by the author.
ReplyDelete